How to Back Up Self-Hosted Plausible Analytics Data to an R2 or S3 Bucket
Services like S3 and R2 can be invaluable when self-hosting Plausible Analytics. Let's walk through what it looks like to use them for automated backups a simple cron job.Self-hosting the Plausible Analytics Community Edition is appealing for number of reasons, but it isn’t without drawbacks. Among the most obvious: no one’s gonna save you if your data is lost. And the impact of that risk only increases as the amount of data grows.
Fortunately, setting up an automated process for backing up that data to a remote location (like an S3 or R2 bucket) isn’t complex or expensive. Let’s walk it out with a simple, daily cron job. And, of course, we'll cover what it looks like to restore that remote data if it's ever needed.
I'm assuming a couple of things here. Specifically, you're self-hosting on an Ubuntu machine, and you're using Plausible's docker-compose.yml configuration. If those two things are true, this should all go pretty smoothly.
S3 vs. R2?
If you’re unfamiliar, a quick note about these bucket providers. Cloudflare’s alternative to S3 — R2 — touts an interchangeable API and a generous free tier. I’ll be using R2, but these steps will work for either provider.
Make a Bucket
I won’t go through those steps here — the processes are well-documented elsewhere, and will vary based on the provider you've chosen. Here’s the R2 bucket I’ve made for myself:
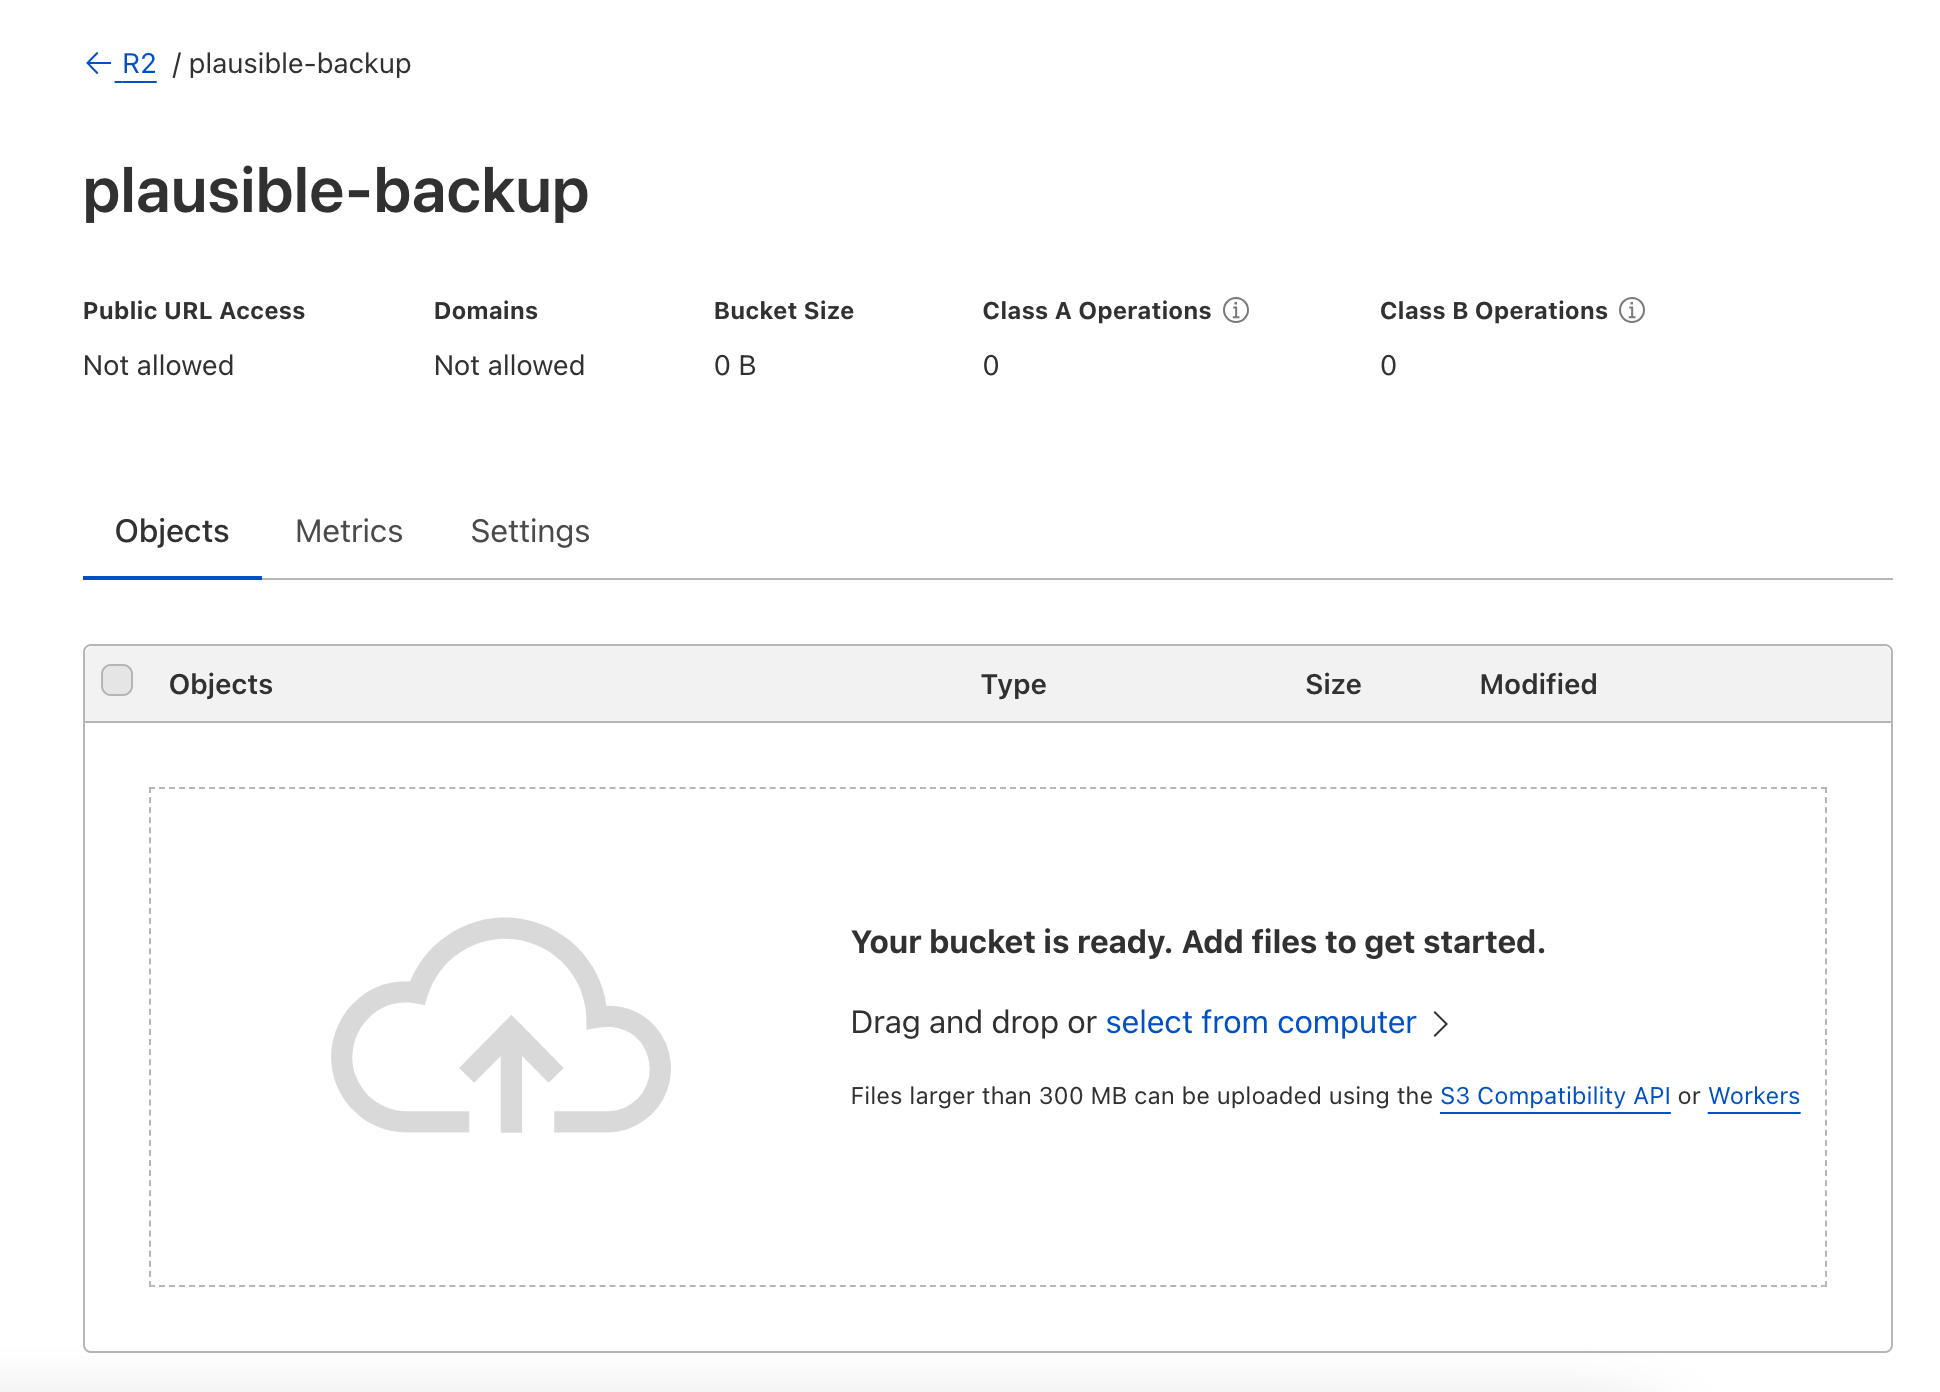
Fresh, and ready to go.
Configure the AWS CLI
Next up, let's connect to our machine via SSH. We’ll need to configure the AWS CLI to be able to push and pull from that bucket we just created (this single CLI is compatible with both S3 and R2). Again, those steps are more thorougly documented elsewhere, but here’s the gist.
First, install the CLI And give it a minute to do its thing. It'll also require unzip to be installed your machine. Lumping it all together, you'll need to run these commands:
# Necessary for unzipping the installation package.
apt install unzip

# Download the installation package:
curl "https://awscli.amazonaws.com/awscli-exe-linux-x86_64.zip" -o "awscliv2.zip"

# Unzip it.
unzip awscliv2.zip

# Install it.
./aws/install
Then, we need to fill our configuration file with a few key details – namely, an access key ID and secret access key. Since we're using Cloudflare, I'll get those by generating an API token. Once you're done, you'll see something like this:
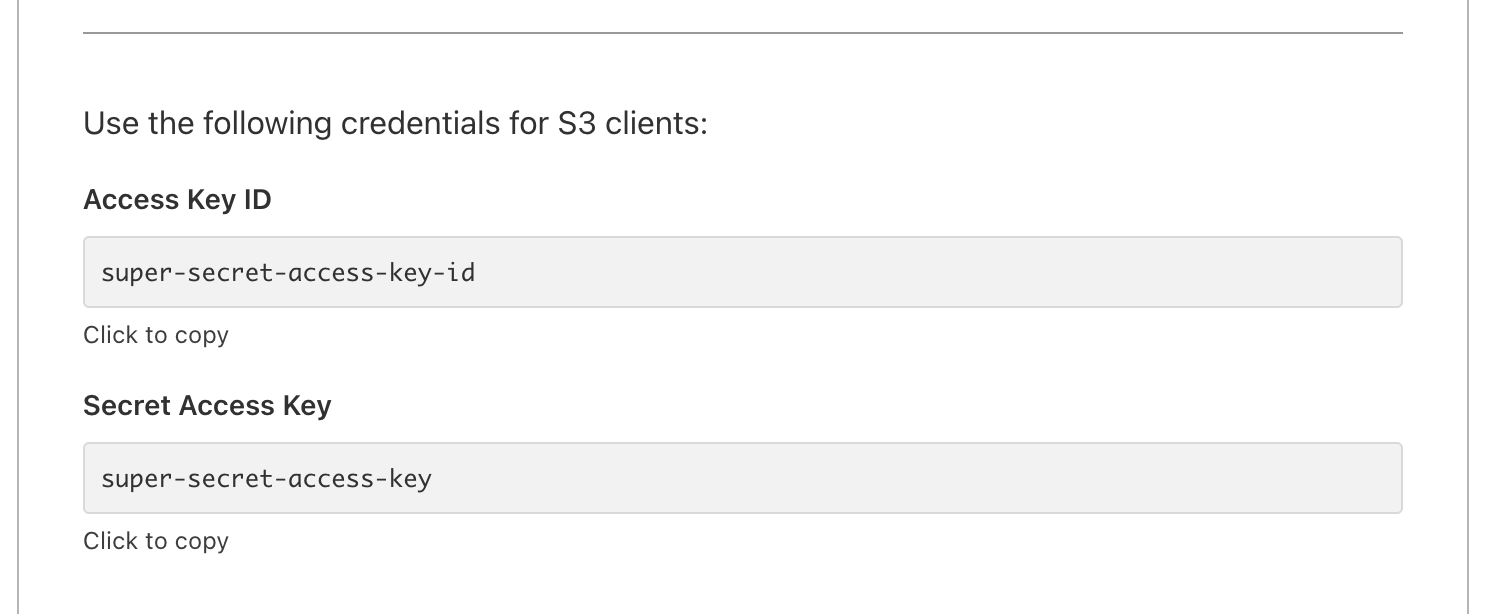
Then, you're ready to finish configuring the CLI by creating a ~/.aws/credentials file containing this:
[default]
aws_access_key_id = super-secret-access-key-id
aws_secret_access_key = super-secret-access-key
region = auto
And with that, we have everything needed for automating our backups.
Build a Backup Script
With that foundation in place, let's start building a shell script that'll run every time we want to back up our data. It'll do the following:
- turn off running Docker containers
- extract data from Docker volumes to files
- upload those files to the bucket
- reactivate the containers
Let's stub this thing out. You can put it where you like, but I'll put mine at ~/backups/run.sh, and made it executable with chmod +x ~/backups/run.sh.
Extracting Data from Docker Volumes
At this point, we'll be borrowing from the backup guide laid out here. After disabling our containers, we'll use Jarek Lipski's volume-backup utility to pull data out of our Docker volumes, and save it all to respective files.
#!/bin/bash bash

docker compose -f /path/to/plausible/directory/docker-compose.yml down

docker run -v plausible_db-data:/volume --rm --log-driver none loomchild/volume-backup backup > ~/backups/plausible_db-data.tar.bz2
docker run -v plausible_event-data:/volume --rm --log-driver none loomchild/volume-backup backup > ~/backups/plausible_event-data.tar.bz2
docker run -v plausible_event-logs:/volume --rm --log-driver none loomchild/volume-backup backup > ~/backups/plausible_event-logs.tar.bz2
If you'd like to confirm the names of those volumes as you're setting this up, turn off your containers and see what pops up after running docker volume ls -qf dangling=true. The human-readable names listed there are what you're looking for.
Uploading to Remote Bucket
Now that we have files, we can upload them to our remote bucket. But first, we need an endpoint URL, which varies based on whether you're using R2 or S3.
- If you’re using S3, use the endpoint based on your region listed here. For example, if you’re on
us-east-1, that value would bes3.us-east-1.amazonaws.com. - If you’re using R2 bucket, your URL endpoint will be
https://<ACCOUNT_ID>.r2.cloudflarestorage.com, as indicated here.
That value will then be used with the AWS CLI to upload our files:
#!/bin/bash bash

# ...disable containers
# ...export volume data

aws s3 cp ~/backups/plausible_db-data.tar.bz2 s3://plausible-backups --endpoint-url https://ur-endpoint-url.com
aws s3 cp ~/backups/plausible_event-data.tar.bz2 s3://plausible-backups --endpoint-url https://ur-endpoint-url.com
aws s3 cp ~/backups/plausible_event-logs.tar.bz2 s3://plausible-backups --endpoint-url https://ur-endpoint-url.com
And after it's finished, we can reactivate our containers:
#!/bin/bash bash

# ...disable containers
# ...export volume data
# ...upload to remote bucket

docker compose -f ~/path/to/plausible/directory/docker-compose.yml up -d
Go ahead and give it a spin by running bash ~/backups/run.sh. After its completion, you'll see some contents in your bucket:

That's the bulk of the work. Next up: automate it.
Scheduling the Script
If you don't already have it on your machine, install cron by running apt install cron. Then, open up the cron editor with crontab -e and add the following line:
0 2 * * * /bin/bash ~/backup/run.shThere's not much two it. At 2am every morning, it'll execute our script, uploading the latest data to our bucket. Done.
Restoring the Data
All of this is useless unless you can restore data when it’s needed. Here’s how that looks. Lipski's volume-backup utility also comes with a useful restore command for injecting data back into a volume. All we need to do in preparation is to download it from our bucket and ensure our Docker containers are disabled:
aws s3 cp s3://plausible-backups/plausible_db-data.tar.bz2 ~/backups --endpoint-url https://ur-endpoint-url.com
aws s3 cp s3://plausible-backups/plausible_event-data.tar.bz2 ~/backups --endpoint-url https://ur-endpoint-url.com
aws s3 cp s3://plausible-backups/plausible_event-logs.tar.bz2 ~/backups --endpoint-url https://ur-endpoint-url.com
Then, it’s merely a matter of pumping those files into our volumes:
docker run -i -v plausible_db-data:/volume --rm loomchild/volume-backup restore -f <~/backups/plausible_db-data.tar.bz2
docker run -i -v plausible_event-data:/volume --rm loomchild/volume-backup restore -f <~/backups/plausible_event-data.tar.bz2
docker run -i -v plausible_event-logs:/volume --rm loomchild/volume-backup restore -f <~/backups/plausible_event-logs.tar.bz2
Restart those Docker containers and you'll be back up and running.
Make It Yours
It should go without saying, you're highly encouraged to make this your own and customize accordingly. If you come across some useful tips or modifications, definitely send them my way! This is the same process I use in the Plausible Bootstrapper's backup & restoration features, and I'm eager to hear about anything that could make that experience even slicker.
Get blog posts like this in your inbox.
May be irregular. Unsubscribe whenever.